The stone path is one of the oldest forms of paved surface and it is still in use today because it works. It’s a simple and practical way to create a walkway across your landscape. If you want to direct foot traffic and protect your grass, while adding rustic but functional charm to your home’s curb appeal, look no further. You only need to know how to create a stepping stone path. Keep reading to learn how.

Step 1. Map Out the Path
Choose a spot. Decide where you want your stepping stone path to begin and where it should end. The path can travel in a straight line or be curved. You can use a garden hose as a guide to chart the shape and direction of the path.
Using a measuring tape, determine the length of your path. This will help you to decide how many stones you will need—and it will figure in to how much distance will be between each one. Stand where you want the walkway to begin and take a step forward in your natural stride. Push a stake into the ground beside the midpoint of your foot. This will be the center of the stone. Measure this distance and then from that point add another stake at that same distance for the next stone center. Repeat until you’ve reached the proposed endpoint of the path.
Step 2. Acquire or Make the Stepping Stones
Before you move forward, you need stepping stones for your path. You have a couple of options. The type of stones you need may be purchased from a landscaping supplier or you can find them yourself in the wild. Depending on how many stones you need for your walkway, transporting the stones to your home and moving them around your yard can be an additional burden; they can be heavy…and expensive.
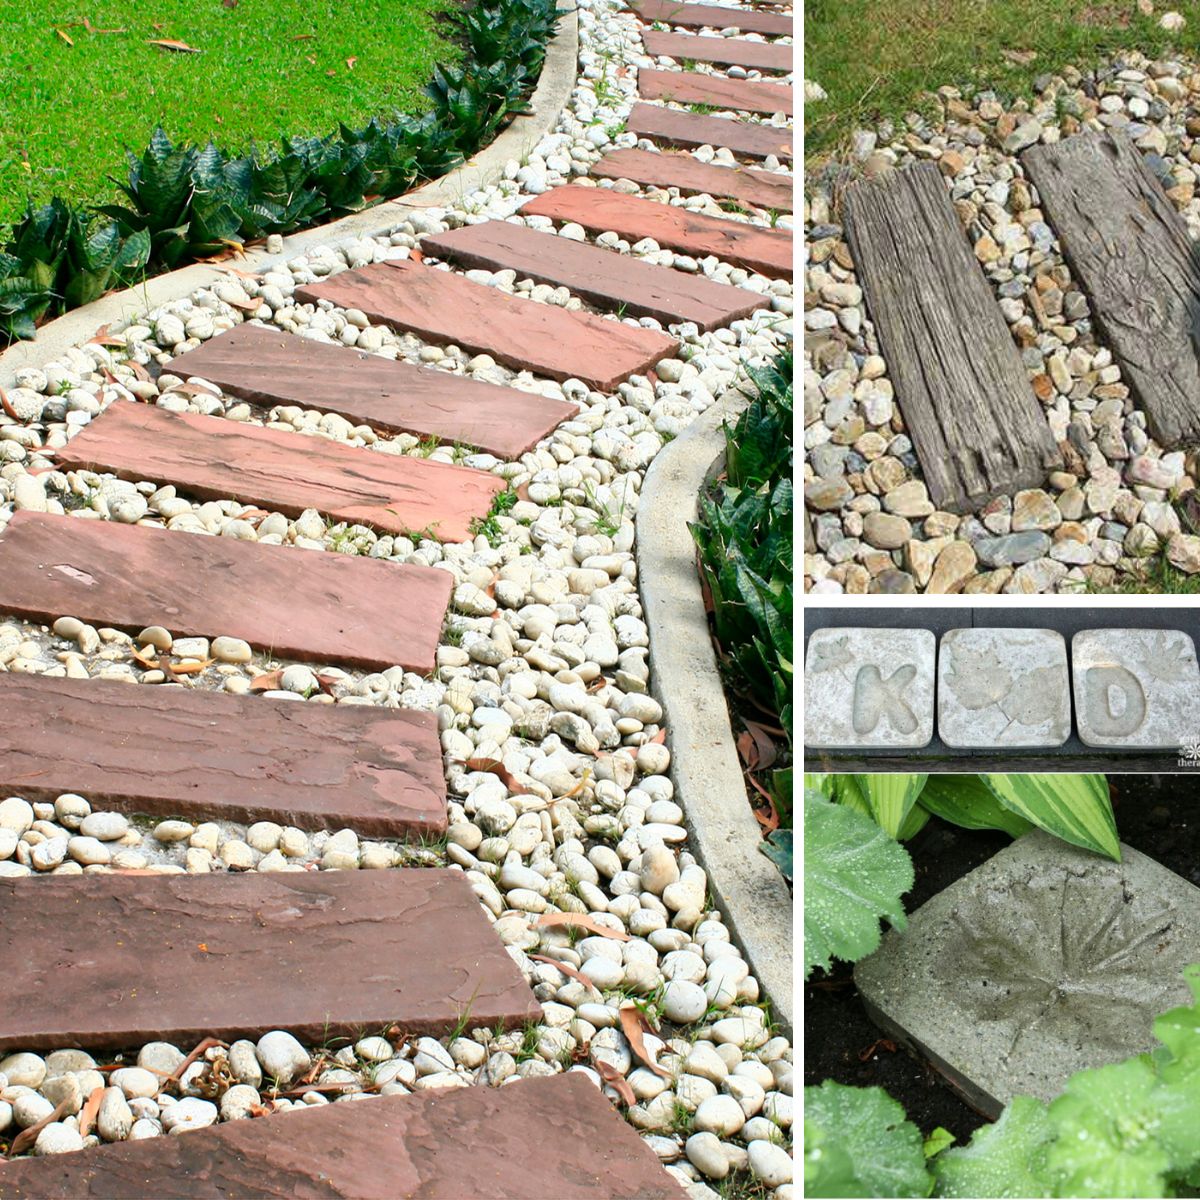
The other option is to make them yourself using concrete mix and some type of mold. The Quikrete Walkmaker is a reusable plastic mold specifically for DIYers to create their own pathways. You can also build your own mold to shape the stones to your liking, using scrap pieces of wood or an old baking pan.
To build a mold from wood, you can use 2x4s and a sheet of plywood, cut in your desired dimensions, such as 13” a side. Connect the pieces at each corner with wood screws and an electric screwdriver. Then cut a piece of plywood to fit and screw it to the 2x4s to create a back panel. Make a handful of these forms to speed up the stone-making process.
Use a mason’s float (or the edge of a piece of wood) to scrape off excess concrete from the top of the mold and smooth the surface. This is more than just a cosmetic procedure — it also floats any fine particles and air bubbles to the surface, creating a denser, more durable top layer.
Let the concrete stone cure for the length of time recommended by the concrete manufacturer. When the concrete has set, remove your new stone from the mold and set it aside. Repeat the process for subsequent stones until you have enough of them to complete your path.

See the rest of the article on the next page