How to store salad greens so they last two weeks or more

Source: allrecipes

One of my favorite parts of gardening is making salads using all of the fresh vegetables that come out of my garden.
There is nothing quite so good as a sun-warmed tomato, or the spectacular crunch of a cucumber that you just picked.
But even better is the flavor and perfect crispness of freshly cut greens. Store-bought lettuces can’t compare.

Whether you grow salad greens to be picked when they are young and tender, or you prefer something more substantial like a head of romaine or buttercrunch, you can’t beat salad greens you grew yourself.
Related Reading: How To Grow Cut & Come Again Lettuce
Often these tender plants need to be picked all at once, and once picked, they don’t last very long. And while eating salad greens from your garden is great, it’s incredibly frustrating going to your fridge to make a salad and finding wilted, brown, or even mushy greens that have gone bad.
An excellent way to avoid this from the start is by planting your salad greens over the course of a few weeks. That way, everything isn’t ready to be picked all at once.
But what do you do if it’s too late for that or you get a bumper crop when you’re harvesting? How do you keep all of those ruby red and emerald green leaves from going bad before you can eat them?
It’s all in how you prep and store your greens.
While lettuces need a little humidity, they quickly break down if they’re exposed to too much moisture. Salad greens tend to be very delicate also, so they bruise easily. If handled roughly, the leaves spoil within days.
A few years ago, I stumbled upon the best way to keep salad greens fresh and crisp for nearly two weeks at a time.
All it takes is a little extra prep work, and you’ll be amazed at how much longer your beautiful homegrown lettuces last.
This method works incredibly well for store-bought containers of salad greens too.
I used to get so mad when I would buy one and get maybe one or two salads from the package before the whole thing would go bad, and I’d end up throwing it away. What a waste of food and money!
If you’re using a store-bought prewashed salad mix, you can skip to step 3.
A note:
- You’ll want to get your greens in the fridge as soon as possible. Be sure to follow these steps as soon as you have picked your lettuces.
Step 1 – Rinse in Cold Water
Fill your sink with cold water. If your tap water doesn’t get very cold, add a few ice cubes. This will give greens a nice drink and boost their water content before you store them. It will also help to perk up greens that have started to wilt a little if you weren’t able to get to them right after picking or if it’s an especially hot day.
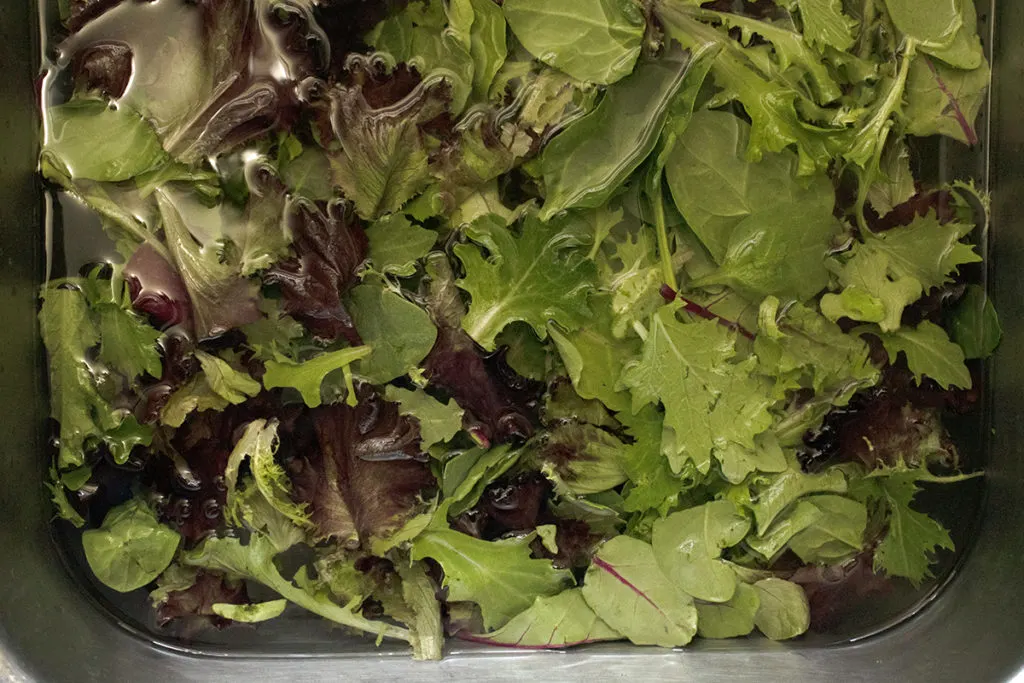
Soak your greens in cold water, swishing them gently and then letting them sit for a few minutes so that dirt and debris can settle in the bottom of the sink. Be gentle, remember bruised leaves spoil fast.
If your lettuces are especially dirty, you can repeat this step a couple more times, starting with fresh water each time. No one wants to chomp down on a bit of gritty dirt in the middle of eating a fresh garden salad.
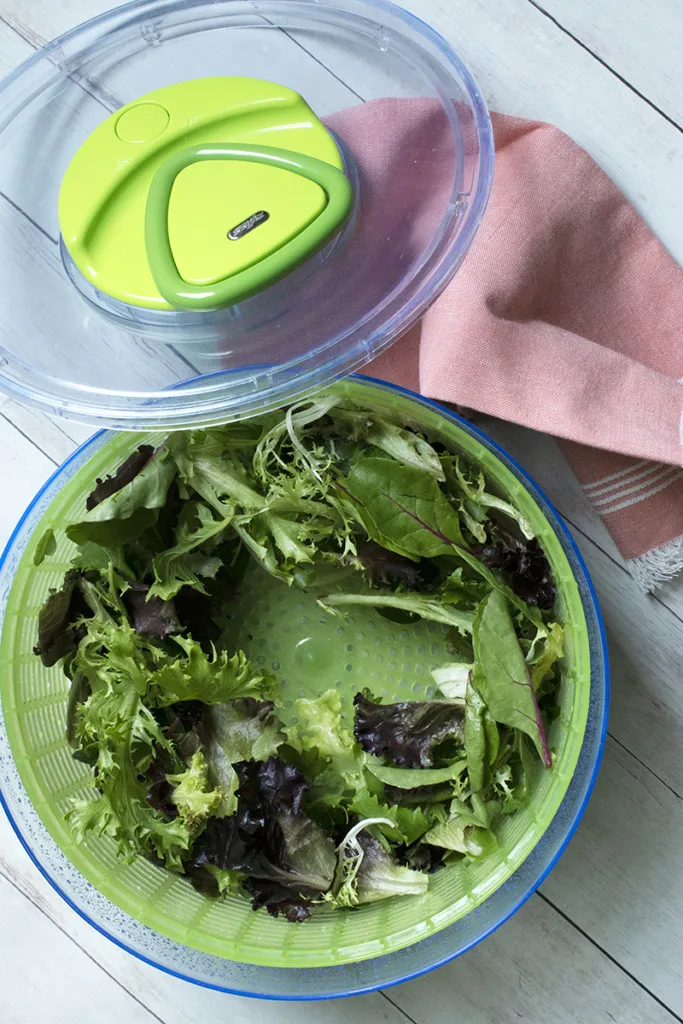
Step 2 – Spin
I’m not big on kitchen gadgets; if it’s in my kitchen, it serves more than one purpose. But if you’re going to grow salad greens you really should have a salad spinner. It’s essential to get as much water off of the surface of your lettuces before storing them in the cold fridge.